|
|
Obtaining your user id and password Login problems Virus protection Spyware protection Remote Desktop Module
|
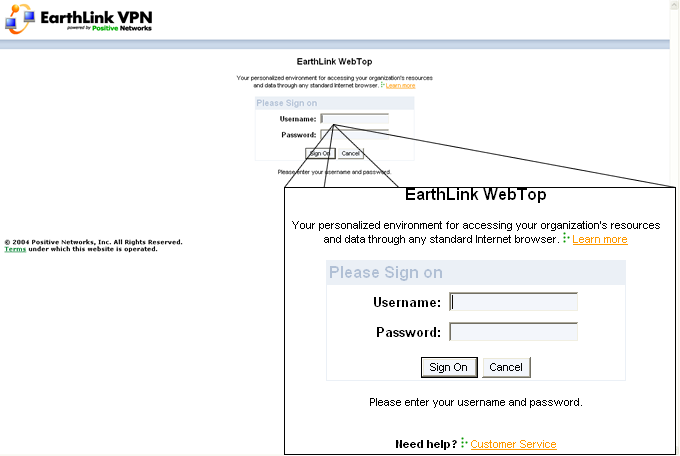
When you log in to WebLink with your unique EarthLink VPN username and password, WebLink gives you access to you company email, files, and apllications, in a secure enviroment. Obtaining your username and password Your username and password,are set by your compan's VPN administrator. In most cases, your username is your corporate email address or you corporate network login. Your password is usually your corporate network password.
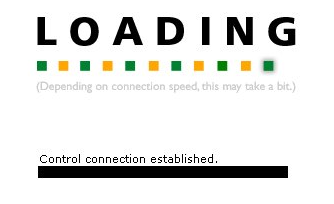
If you do not know your EarthLink VPN username and password, or if you have any other problems logging in to WebLink, contact your company's VPN administrator. After you enter your username and password, the progress page appears. Depending on the speed of your Internet connection, WebLink may take a few minutes to load.
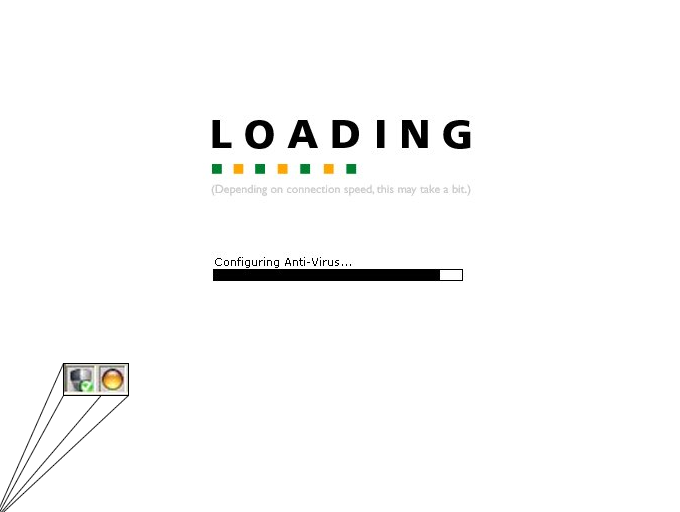
While WebLink is loading, you may notice a message regarding anti-virus software. If you log in but do not have antivirus software installed, WebLink will offer to install a free copy of McAfee anti-virus software. WebLink will check to make sure that your anti-virus program is running, scan for known viruses, and remove known viruses.
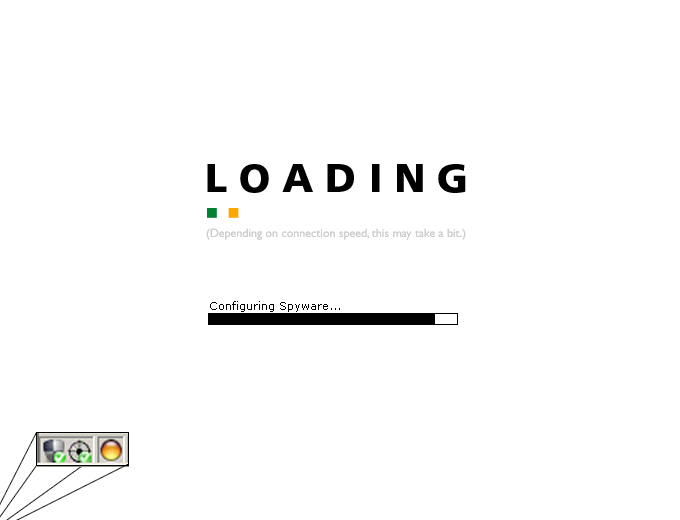
During login, WebLink also checks to make sure you have anti-spyware software installed. Spyware is software that tracks your online activities withour your knowledge and presents a significant security risk. To help avoid spyware, WebLink will download and install a free copy of Spybot Search & Destroy on your computer. WebLink will also scan for and remove spyware on you PC as well as automaticaly update spyware definitions files to protect you against the lastest threats.
The WebLink main page displays several boxes, or "preview panes," for WebLink's Five modules: Intranet, Applications, Email, File Shares, and Remote Desktop.
Generally speaking, each preview pane contains only the most commonly used features for that module. To access the full module, use one of these methods:
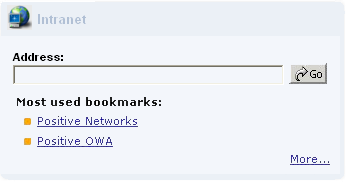
The bookmarks listed in the Intranet Module are chosen by your VPN administrator. However the intranet Module also allows you to visit other intranet sites and add your own bookmarks.
You can access other intranet sites either through the Intranet Module's preview pane or with in the module itself:
Adding your own intranet bookmarks
Categories help you organize your bookmarks. The categories you create appear in the Personal Bookmarks section of the Intranet Module. To create a category:
Deleting bookmarks and categories
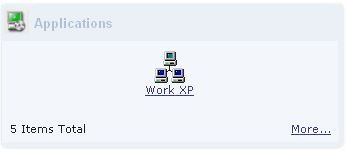
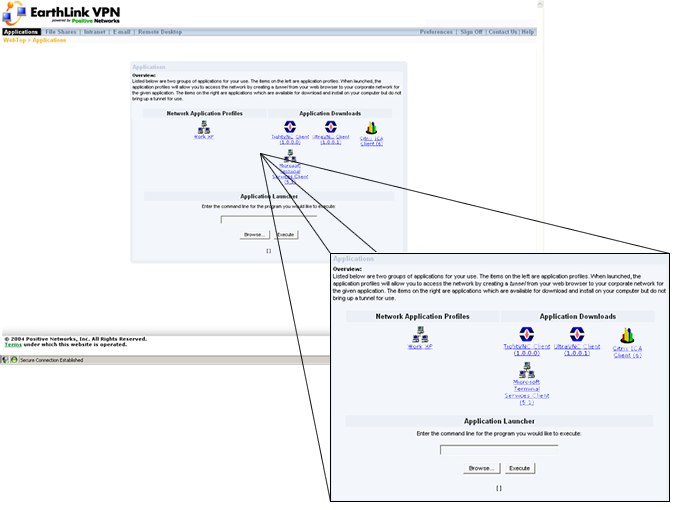
The Applications Module contains the applications available to you, as chosen by your company's VPN administrator. The module's preview pane shows pre-configured application profiles that are ready for your use. Simply click the profile to use that application.
Clicking More displays the full Applications Module, where you can create your own profiles, download and install any applications you do not already have on your computer, and more.
For help creating profiles other than those already configured for you, or to use any of the advanced features of the Applications Module, contact your VPN administrator.
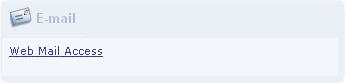
The email module allows you to access your corporate email from any Web-enabled PC. Simply click the Web Mail Access link shown in the module's preview pane. A new browser window will launch, giving you full email access.
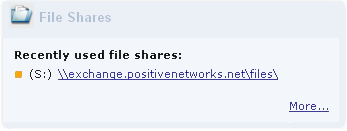
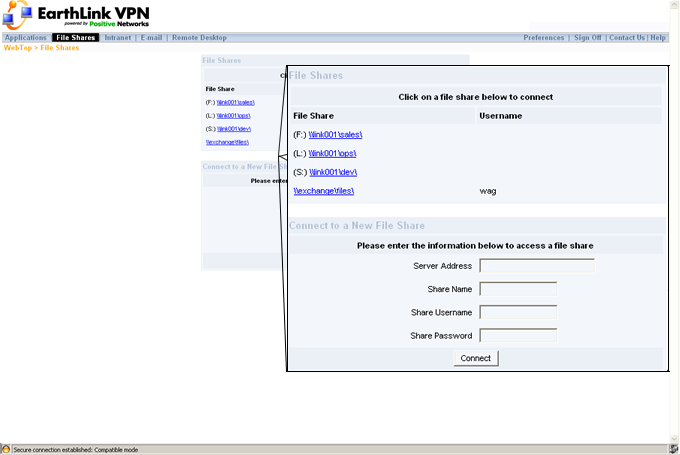
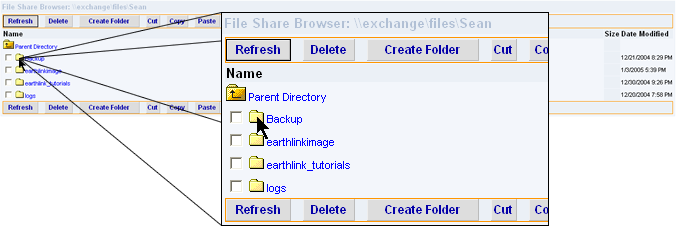
The File Shares Module is usually pre-configured by your VPN administrator and lists company file shares you are allowed to access. Because you access the shares through your browser, no drive-mapping or network configuration is required. .
In addition to the file shares your administrator has made available, you can add other shares to the File Shares Module. Please note that you must know the address of the file share and also have appropriate permissions for the share:
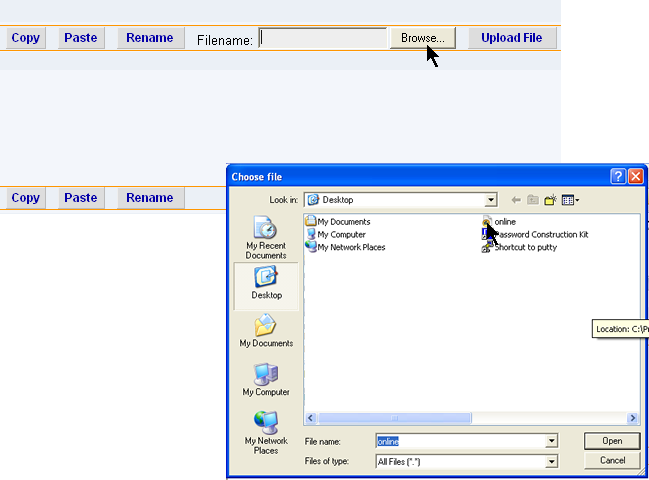
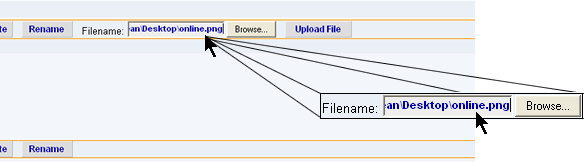
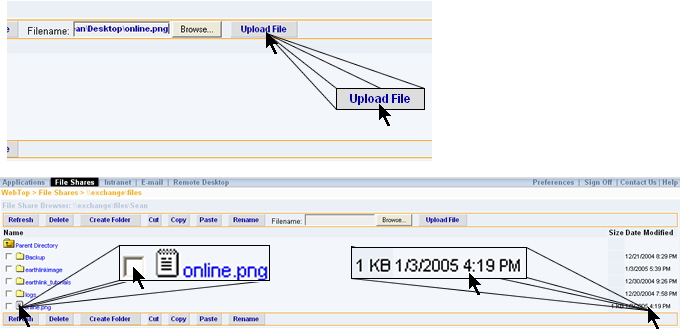
To copy files from the remote computer you're working on to a corporate file share:
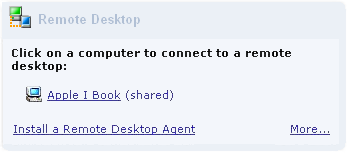
This module allows you to access an office PC from a remote location using any Enhanced Mode capable Web browser (Microsoft Internet Explorer or Safari Mac). With Remote Desktop, you can use your keyboard and mouse as if you were sitting directly in front of the office PC. You also use this module to install and configure the Remote Desktop Agent (RDA) on your office PC so that you can remotely control it.
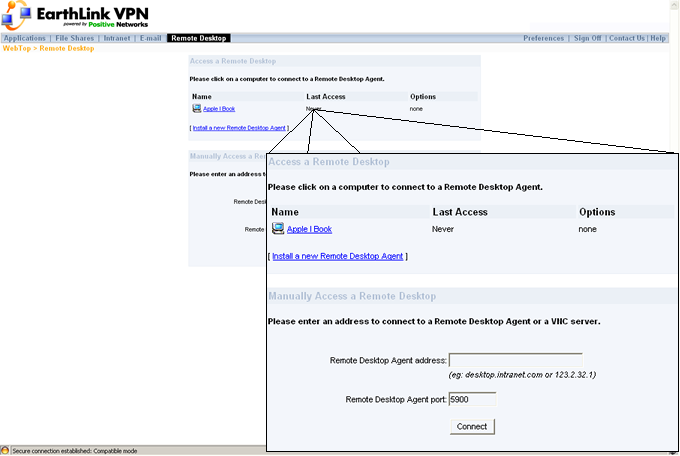
Installing the Remote Desktop Agent (RDA) Before you can control an office PC remotely, you must install the RDA on the office PC: 1. Log in to WebLink from the office computer you want to control remotely. 2. In either the Remote Desktop Module or its preview pane, click the Install a new Remote Desktop Agent link. 3. Click the Install Now icon. 4. As soon as the RDA is downloaded, it will run automatically. Follow the instructions on your screen to install it. You will be asked to enter the following:
5. Click Next. 6. Enter your Earthlink VPN username and password. (This is the same username and password you use to log in to WebLink.) 7. Click Next, then click Finish.
After you install the RDA on an office PC:
The desktop of your office PC will then display in your browser window. Note: Because you are accessing the office PC through a secure Internet connection, the screen will refresh more slowly than it does when you are using the office PC directly.
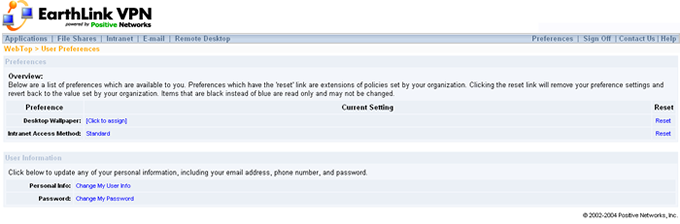
At the top of every WebLink screen, you will find a number of useful links. Along with a link for each module (Applications, File Shares, Intranet, Email, and Remote Desktop), these links include:
|